Quick Start
Prerequisites
To use AITuberKit, you need the following software:
- Node.js: 24.x
- npm: ^11.6.2
Installation Steps
1. Clone the Repository
git clone https://github.com/tegnike/aituber-kit.git
cd aituber-kit
2. Install Packages
npm install3. Set Environment Variables (Optional)
If needed, copy the .env.example file to .env and set the environment variables.
cp .env.example .envINFO
Values set in environment variables have lower priority than values entered in the settings screen.
Start the Development Server
npm run devYou can start using AITuberKit by opening http://localhost:3000 in your browser.
Launch with Launcher Script
If you are not familiar with the command line, you can use launcher scripts that can be started with a double-click:
- Windows: Double-click
LAUNCH.bat - macOS: Double-click
LAUNCH.command
The launcher scripts automatically install dependencies and start the development server.
Launch with Docker
If you have a Docker environment, you can also use Docker Compose to start the application.
# Prepare the environment variables file
cp .env.example .env

# Start with Docker Compose
docker compose up
Once the build and startup are complete, open http://localhost:3000 in your browser.
TIP
Hot reload is enabled with Docker Compose. Changes to the source code are reflected in real time.
Screen Description
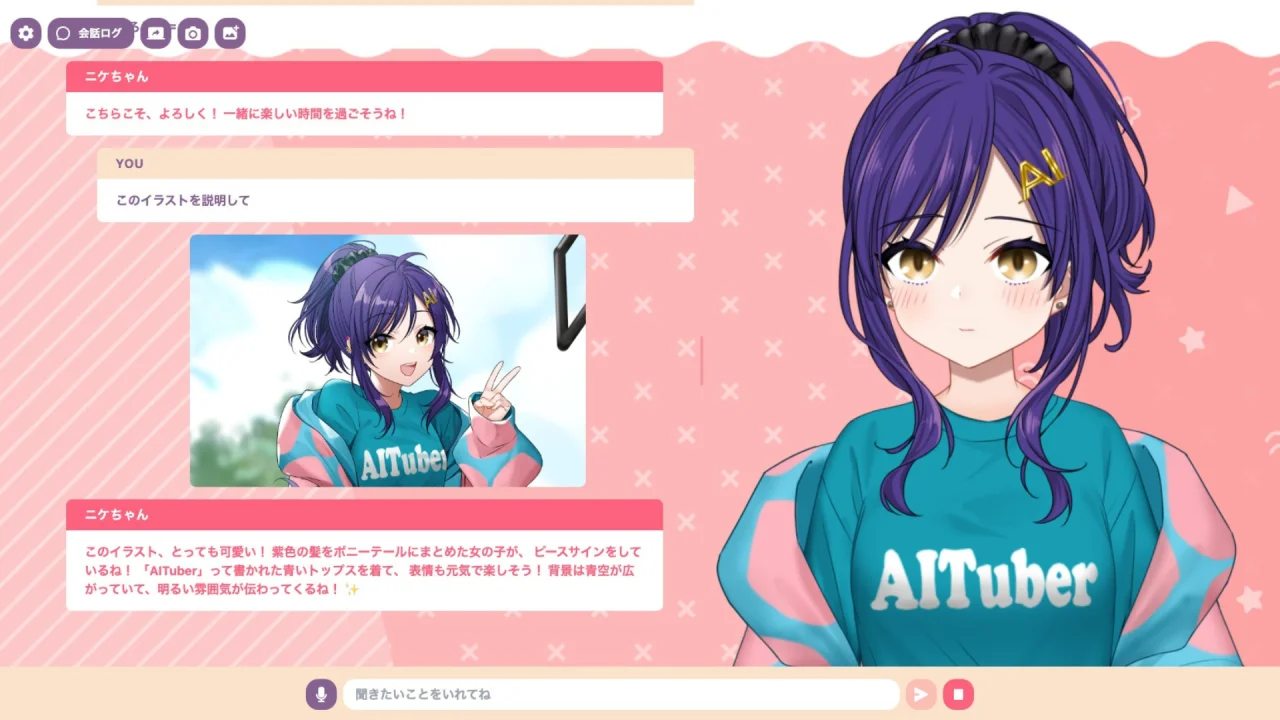
- The settings button with a gear icon at the top left allows you to configure various settings related to AI characters and voice
- The conversation log button (right of the settings button) allows you to display the conversation history with the character by clicking it (adjustable width by dragging)
- The character is displayed in the center, and its size and position can be freely adjusted by dragging
- There is an input form with a microphone icon at the bottom, which allows you to text or voice input to the character
- Click the send button (right arrow) or press Enter to send a message
Basic Usage
Interacting with AI Characters
- Enter the API key for the LLM selected in the settings screen
- Optionally edit the character's setting prompt
- Upload a VRM file, Live2D file, or PNGTuber images for the character, and a background file
- Select a voice synthesis engine and adjust voice settings
- Start a conversation with the character from the input form
AITuber Streaming
- Turn ON Youtube mode in the settings screen
- Enter your Youtube API key and Youtube Live ID
- Configure other settings similar to "Interacting with AI Characters"
- Start streaming on Youtube and confirm that the character responds to comments
- Turn ON conversation continuation mode to allow the AI to speak proactively when there are no comments
Next Steps
- Use Easy Setup to configure the core settings in one place
- Configure detailed settings in Basic Settings
- Customize AI characters in Character Settings
- Adjust AI behavior in AI Settings
- Configure voice synthesis in Voice Settings
- Configure speech input in Speech Input Settings
- Set up AITuber streaming in Youtube Settings
- Configure slide mode in Slide Settings
- Configure image upload and placement in Image Settings